In the past, using multiple projectors and syncing them for a projection mapping show required special hardware, software and expertise that was beyond the budget and skills of a typical home user. However, thanks to a suggestion from a customer, I recently discovered a practical and less expensive method that can work for a lot of people. Now, don’t get me wrong. There is still extra expense and extra work involved compared to setting up a single projector system, but not an insurmountable amount. Here’s how I did it.
(Note: Some of the links in this article will take you to Amazon where you can purchase the recommended products. As an Amazon Affiliate we receive a small commission when you decide to purchase)
The HDMI Video Wall Processor
You have probably seen businesses that have a wall with multiple TVs lined up on it, as shown below:
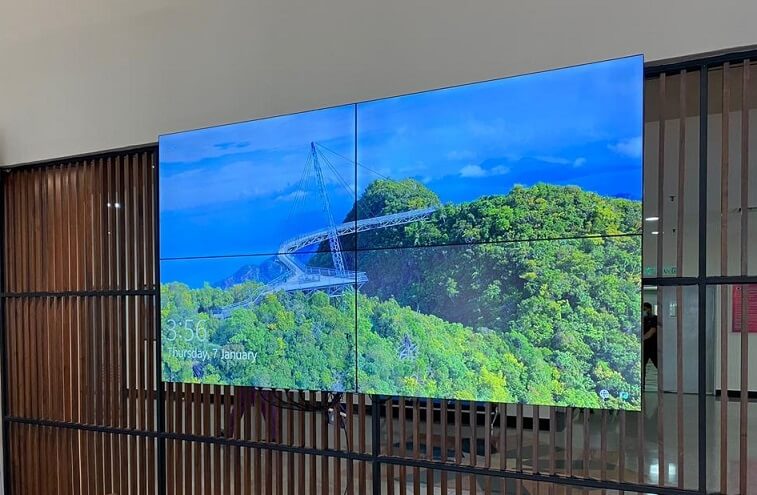
One video is playing spread across all of the TVs. It’s a cool effect made possible by the use of a video wall processor like the small unit pictured below:
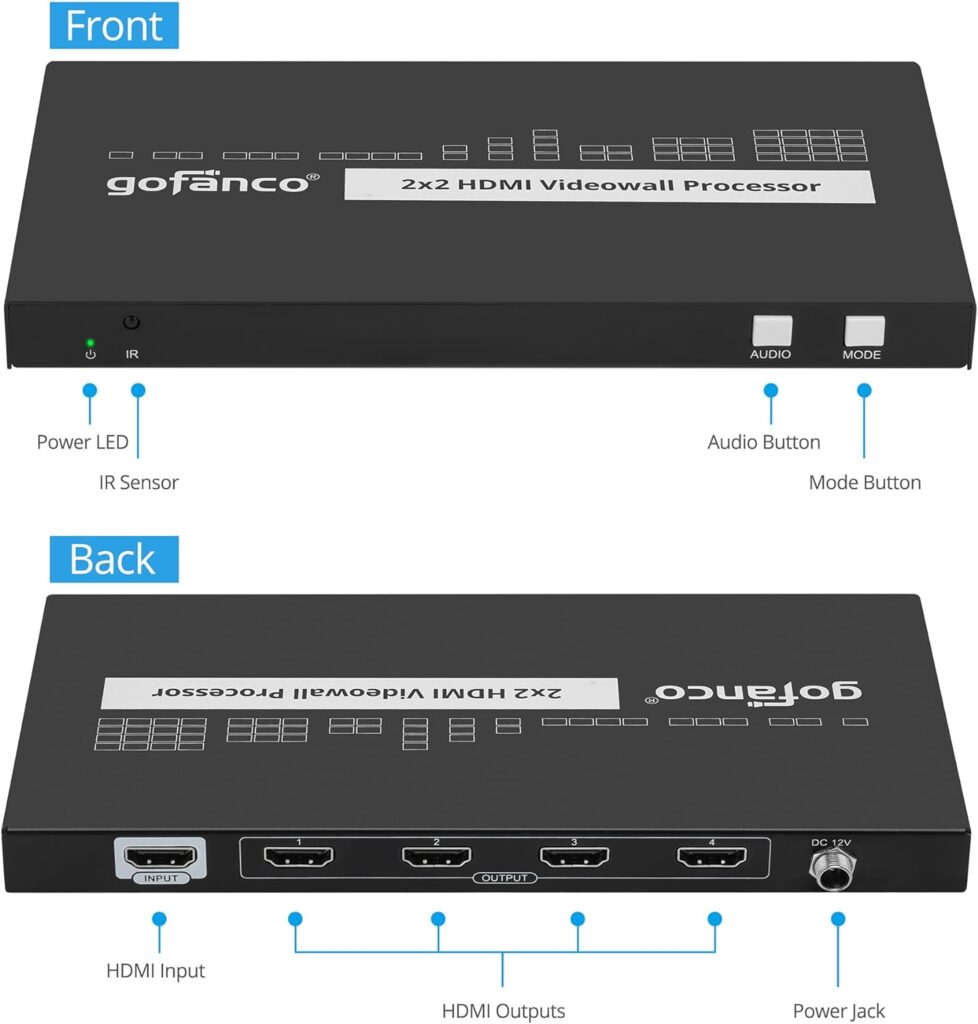
This processor takes one HDMI video source and splits it into multiple HDMI sources that provide a signal for each TV. The idea for our projection mapping application is to set up multiple projectors just as you would set up multiple TVs. You are simply replacing the TVs with projectors. As you can see in the above photo, there is one HDMI input and 4 HDMI outputs. Plug your computer or media player into the HDMI input and then plug your projectors into the numbered HDMI outputs. Using all 4 of the outputs is not required. Just use as many as you need. There are multiple modes available where you can select the number of projectors you are using and how you want them arranged.
You can spend a lot of money on one of these video wall processors, but pricing has come way down recently, especially on units without a lot of bells and whistles. I purchased mine for about $150, but there are even less expensive ones available.
Wireless HDMI Transmitter/Receiver
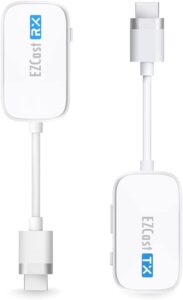
Of course, you will want to position your projectors a good distance apart to cover different parts of your house. To avoid having to use a very long HDMI cable in my setup, I used a wireless HDMI transmitter/receiver kit like the one pictured below:
Minimizing The Seams
Just like the edges of the TVs in a video wall create seams, you will have seams between your projected images. Unfortunately, getting the edges to align perfectly and seamlessly will be virtually impossible. Your goal will be to get them aligned close enough to be acceptable. On the positive side, there are some strategies you can employ to minimize alignment problems.
The architecture of a house usually provides natural breaks where you can hide the seams. For example, if you need to cover one large flat wall with multiple projectors, try to use the edges of windows or doors or a downspout to disguise the seam.
Another strategy would be to dedicate each projector to an area that already has well defined boundaries. For example, you may want to dedicate one projector to cover your garage area and another to cover the entryway.
Drawing Your Map
The process of drawing your map with this multi-projector setup is virtually the same as with a single projector. Follow our tutorial here. You will only need to draw one map and that map will cover the view of all of the projectors. A separate map for each projector is unnecessary. You will also want to pay attention to the instructions for aspect ratio and screen resolution in the tutorial. Using multiple projectors doesn’t change any of that. Each projector should be set to a 16:9 aspect ratio and your computer should have a screen resolution that is also 16:9.
Depending on how you have the projectors arranged, your drawn map image may appear unusually squished or stretched when you are finished. That is fine. We will be able to compensate on our end when we customize the videos.
A Word About Resolution
To get the highest quality images, it is best to use a 4K resolution video (3840 x 2160 pixels) as the source input for the video wall processor. That way, when the image gets split up for each projector, the output will still be fairly high quality at 1080p (1920 x 1080). If you use a lower resolution source video, the quality of the final images will be inferior.
The media players we recommend can output 4K which is perfect for this application.
By default, we render our videos at 1080p, but we can easily render them in 4K for you. Just let us know that you need 4K for your setup.